
Simply put, ease is the difference between the size of your finished knit and the size of your body. If your item is bigger than you, it’s got positive ease. If it’s smaller than you, it’s got negative ease. So, how much ease is right for you and your project? Let’s take a look!
This tutorial includes:
Finished measurements vs. fit measurements
The first thing you’ll want to check is whether your pattern lists finished measurements (the actual size your item will be) or fit measurements (the size your item is designed to fit).
For example, our Barley hat pattern lists ‘fits head’ measurements, so the hat is designed to fit a head with those measurements. If you have a 22″ head, you’ll want to choose the Adult M size. If you have a 21″ head, you’ll want to choose the Adult S.

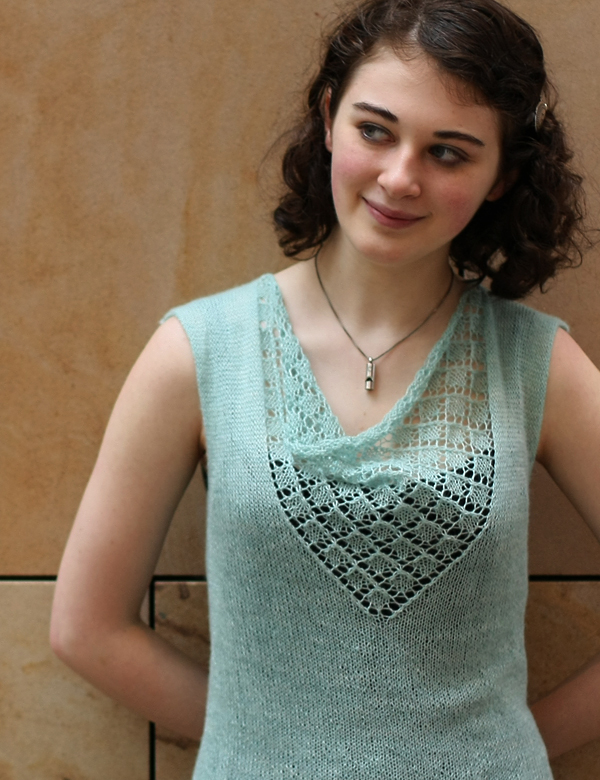
The Flax sweater pattern, on the other hand, lists finished measurements. This means that if your gauge matches the pattern gauge, your finished sweater will have those dimensions.

If you’re working from a pattern that lists finished measurements, you’ll want to choose a size with your measurements PLUS your desired ease. So, if you have a 49″ chest and you want 2″ of positive ease, you would choose the XXL with a finished chest measurement of 51″.
Note: Again, your gauge must match the pattern’s gauge to get the finished measurements listed in the pattern. Check out our post on gauge to learn more.
Before starting any project, make sure you double-check whether your pattern lists finished measurements OR if it lists measurements with ease already taken into account.
An example:
My dear sister-in-law Emily knit a sweater for herself. She thought the pattern listed finished measurements, so she chose a 32″ size for her 34″ bust, which she assumed would give her 2″ of negative ease. The pattern, however, listed fit measurements, and had already taken into account the 2″ of negative ease suggested in the pattern. This meant that the 32″ size had a finished measurement of 30″. Emily ended up with 4″ of negative ease, rather than the 2″ she was looking for. The pattern was clear; she just hadn’t read it carefully. Luckily, blocking saved the day – but don’t let this happen to you!
Ease in accessories
Ease in accessories is a little different than a sweater. As a general rule, you’ll want a couple of inches of negative ease with hats and socks, and a bit of positive ease for mittens. Knitting is stretchy, and for hats and socks, you’ll want a bit of stretch. For mittens, you’ll want some “wiggle room” to wiggle your fingers.

How much ease is right for me and my sweater?
The answer to this question is different for every knitter, so there’s really no wrong answer. Emily, for example, likes to wear her sweaters a little tighter around the bust, while Alexa enjoys a bit more positive ease. Patterns often provide a suggested range of ease, but you’ll want to choose the amount that is right for you. Knitting it yourself means you are creating a custom piece, so it should fit the way YOU want! The images below show the same garment, but worn with different amounts of ease.


How do I know how much ease I like?
Here’s one of our favourite tricks for figuring out personal ease preferences. First, grab your most favourite-fitting sweater. (It’s best to select a hand knit for this exercise, but even a commercial sweater will give you a good starting point.) Lay your sweater flat, measure across, and then multiply by 2. That’s the finished measurement. Now measure yourself at your widest part (either chest or belly). The difference between the finished sweater measurement and your body measurement is the amount of ease you like.
The only flaw in this system is that it doesn’t take the drape of the fabric into account, which you’ll definitely need to do. A lace-weight cashmere sweater, for example, is going to hang quite differently than a worsted-weight sweater.
Thinking of ease as a percentage rather than a flat number
The suggested ease is usually given in a range of inches or centimeters in a pattern, but we find it more helpful to think of ease as a percentage. For example, 2″ of extra fabric over a 30″ chest is not the same as 2″ of extra fabric over a 60″ chest. To get those two sweaters to fit the same way, you would want a 32″ finished measurement for a 30″ chest and a 64″ finished measurement for a 60″ chest.
Different amounts of ease for different sweaters
It’s important to remember that you probably won’t be able to come up with a hard number for the ease you’ll like in every sweater. The amount of ease you might like in the Love Note (meant to be loose and drape-y) isn’t the same amount you might like in the Carousel (meant to be worn with a more neutral fit). If you aren’t sure, take a look at the models to see how much ease their sweaters hold. Here Francine is wearing the Carousel sweater in size M (38”) with zero ease, while Aimeé is wearing the Love Note sweater in size XL-XXL (56.5”) with 10” of positive ease.


Blending sizes
Sometimes one size doesn’t have all the measurements you need. People come in all shapes and sizes, and you might be happier with a sweater that is a blend of sizes.
For example, if you’re usually a size small but you really want an oversized sweater, you probably don’t want to knit an XL. Instead, you’ll want to knit a S yoke with extra increases at the body only and maybe some at the upper arm too, at the bottom of the yoke.
You might find the size L is great, except the upper arm measurement is too small. There you’ll want to either increase a few extra stitches before splitting for the sleeves in a top-down sweater, or add in a few extra increases in the sleeves if you’re working bottom-up.
If your sweater is long enough to hit your hips, you might find you need a few extra increases in the body (conveniently located at the underarm) to give a bigger hip measurement than chest measurement.
And if you’ve got a larger chest, you might find you want to work some decreases in the body, so your sweater isn’t big all over – just a little bigger at the bust.
You are working on a custom sweater after all, so think about the measurements that suit you best!
More great Tin Can Knits sweaters

Gramps

Dog Star

Love Note

Strange Brew

Antler Cardigan

Flax
: slip 1, knit 1, pass slipped stitch over")


May 6, 2022 @ 5:46 am
I’ve chosen Flax for my first sweater. I have the yarn ready! I’m still so intimidated. I love the instructions you always include on your patterns, that’s why Flax was picked. Thank you thank you for your post on “ease.” I’ve heard some pattern size measurements include, some not. Great explanation for me.
May 9, 2022 @ 2:54 am
Hi Nancy! Best luck with Flax!
Remember – the worst that can happen (in knitting) is that you have to rip it back out! And the best way to get past the intimidation factor is to just cast on :) ~ Emily
April 25, 2022 @ 5:58 am
Thank you for the “ ease” explanation.
I’m about to start my fourth flax sweater and this tutorial will certainly help me figure out the correct neck size opening!
Each of my sweaters end up with different openings😳
April 22, 2022 @ 7:58 am
Thank you for this tutorial. I should have read it earlier! I find the question of ease, difficult. But this does help. I am finding that I need to read the pattern carefully before starting…ofcourse! I am currently knitting my 5th sweater, with each one I seem to find something else, I should have noticed before I started! So far I have been able to adjust, it is certainly a learning experience. I do keep referring to many of your tutorials.
April 25, 2022 @ 3:50 am
Glad to hear the tutorial is useful! There’s no way to learn, but to learn, one bit at a time! My sweater knitting skills have grown over the years, but I still learn a little more with each new project! ~ Em
April 11, 2022 @ 1:44 pm
The “Antler Sweater” is written with one inch of negative ease, other than following the gauge and “adding the correct amount of stiches”. Where would be the best/better location to place any required increaseso or, should one just go up a size or two?
April 11, 2022 @ 11:29 pm
Hi – Just to be clear, the Antler sweater lists finished measurements, but suggests choosing a size with an inch of negative ease. If you’re looking for a little positive ease, I would go up a size for this particular design. If you’d rather just have extra sts at the body, you can always add more body sts, join the body and sleeves for the yoke and work extra decreases in the row before the set-up for the cables. If you need more specific instructions drop us an email at tincanknits@gmail.com for more help!
April 8, 2022 @ 11:17 am
Thank you for your clear explanation of ease. Your blog posts are always interesting and helpful. Happy knitting!
April 8, 2022 @ 7:09 am
Thank you so much for this tutorial. I finished my very first sweater recently and should have understood this more. Thankfully my sweater turned out fitting fine.
Looking for my next project now. Thanks again