

This post is step #5 of the Love Note Tutorial series. Other posts in this series include:
- Yarn choice and sizing: How to choose a fabulous yarn combination and find the right size for you.
- Construction: An overview of the process and how the sweater is constructed.
- Yoke: How to work the provisional cast-on, lace pattern, and raglan increases.
- Body and sleeves: Creating the high-low hem and picking up the sleeves.
- Neckline (this post): How to pick up stitches from the unzipped, provisional cast-on, plus tips for ensuring the perfect fit.
- Finishing: How to finish off your beautiful sweater!
Neckline
The last piece to finish is the neckline. We’ve got a tutorial on how to unpick the provisional cast-on here. Some provisional cast-on methods leave you with one stitch less; if this is the case, take it into account in the coming decrease round.
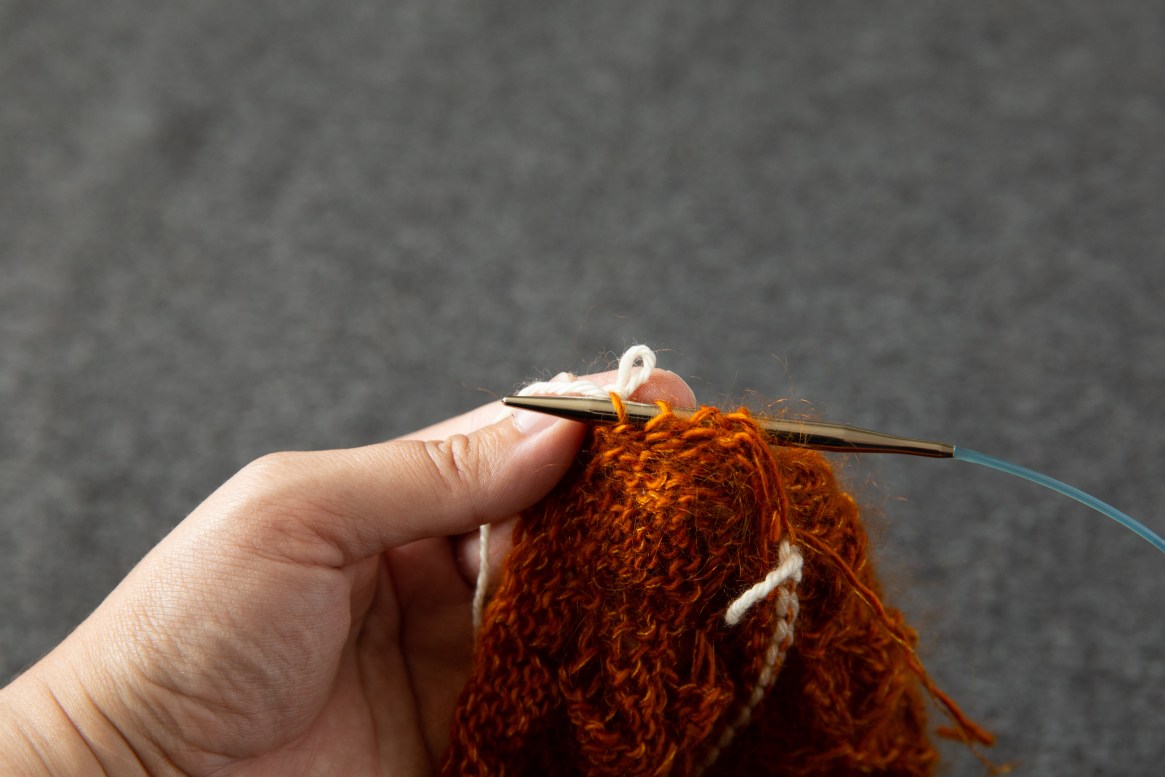

You might want to add a ‘lifeline’ at this point, in case you decide to rip back and adjust the neckline after the fact. A lifeline is a thin piece of yarn that’s threaded through your live sts but not knit into the work. If you find the neckline is too tight or too loose, you can pull those needles out and rip with ease – the live sts will be held by your lifeline.
Just like the hem, the key to this neckline is a very loose bind off. We like to use a needle 3 sizes bigger than the needle that was used for ribbing.

Next step
Just a block to go, and you’re done! The next step in this series is finishing. Head there now!


August 27, 2021 @ 4:57 am
Hi there, I am just getting ready to start on the neckline and I realized that I didn’t do a provisional cast on. For some reason, I skipped right over that word and just did a long tail cast on. Do you have suggestions? I really don’t want to tear it all out and start over!!
August 30, 2021 @ 2:06 am
Hi Laura! That’s absolutely no issue. Simply pick and knit up the number of stitches that you cast on (one in every cast-on stitch) and then work the pattern in as written from that point! It’ll be fine. We’ve got a tutorial on how to pick up and knit stitches here: https://blog.tincanknits.com/2013/12/24/picking-up-and-knitting-stitches/
August 1, 2021 @ 11:06 am
I am knitting the love notes and I am having trouble with the neckline.
I’m knitting the 3x size and when I finished the neck it was so small, it wouldn’t go over my head.
Not sure what went wrong.
The first decrease is k2 [k1, k2 tog] to end
Does that mean k1, k2 tog, k1, k2 tog etc all the way to the end. To get to 79 stitches.
I’m a bit confused.
Thanks Ruth
August 3, 2021 @ 3:53 pm
Hi Ruth – It’s most likely that your bind off is too tight. It’s important to have a loose bind off so the sweater goes over your head, but remains close to the neck. I would recommend trying a looser bind off, or working fewer decreases before working the ribbing.